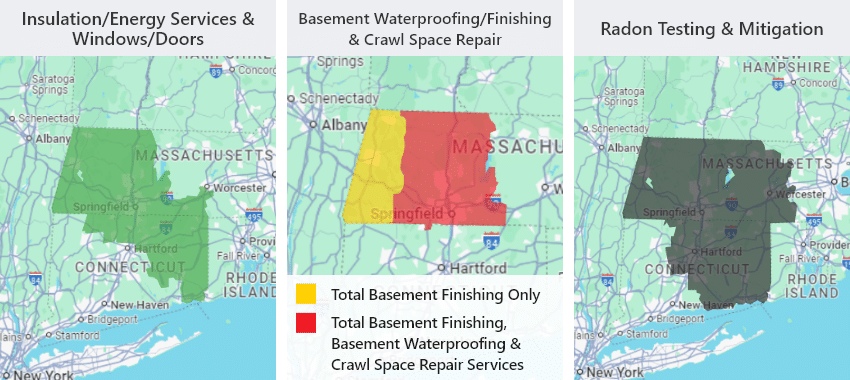
Proudly Serving Western Massachusetts, Northern Connecticut, and surrounding areas.
Fogarty's Home Services Before & After Photos
Click on a photo to enlarge.
Insulating an Attic in Storrs, CT
This homeowner in Storrs, CT called us hoping that we would be able to help him with his attic insulation. He had old loose fill insulation that needed to be replaced. In the winters, he experienced ice damming, and in the summers, he had a bad humidity problem. He also had a mold problem, and there were rodents and bats that were entering his attic. He wanted to remove all of those issues and start fresh with new insulation to increase his home comfort.
We were able to help this customer! We were able to replace the attic insulation with TruSoft™ cellulose insulation. We started by removing the old blown-in insulation using a large vacuum. We then went in and air-sealed around all of the points where air leaks up from the home to the attic. We did this using our Zypfoam™ spray foam. Once the attic was air sealed, we used a long hose to blow in TruSoft™ cellulose insulation. TruSoft™ is amazing -- it does not burn, get moldy, or attract pests. The blown-in insulation fills all gaps and oddly shaped voids. The homeowner is now much more comfortable in his home!
Air Sealing Can Lights in Salem, CT


Many homes have recessed lighting. Can lights are a major source of air leakage from the conditioned space into the unconditioned attic space. Most of these lights use incandescent or halogen bulbs which burn at 380 degrees. Hot air rises faster so the air leaks faster. We used our TiteShell can light covers which are safe to use around hot light fixtures. Once the covers are fitted around the fixture they are air sealed with expanding foam.
Making Floors Warmer in Salem, CT


This homeowner in Salem, CT called us out to their home to insulate their basement due to having cold floors. This homeowner had no insulation in their basement at all. Poured concrete basement walls are a risk for potential mold in the summer when the hot humid air meets the cold concrete! This was negatively affecting their home creating cold floors, hard to heat, and higher heating and cooling bills to name a few.
We addressed this concern by insulating and air sealing the basement rim joist and walls. We first install our Foamax foam insulation boards along all the walls in the basement. They are secured with long fasteners. It has flame retardant properties. This results in warmer more comfortable, and helps with cold floors. Next, we spray our Spray Foam Insulation along the perimeter of the house covering the rim joist cavities and the sill plate. This stops all air leaks from outside entering the home through all cracks and gaps.
Thanks to Dr Energy Saver by Eco Energy solutions, this home is more comfortable, cheaper to heat and cool, and energy efficient!
Mold Concerns in Salem, CT


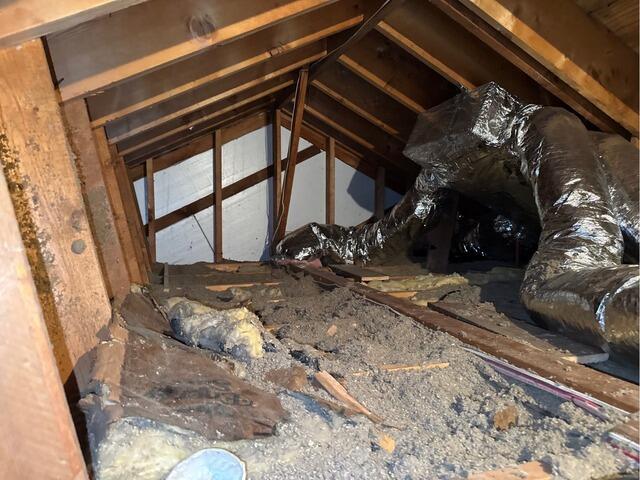
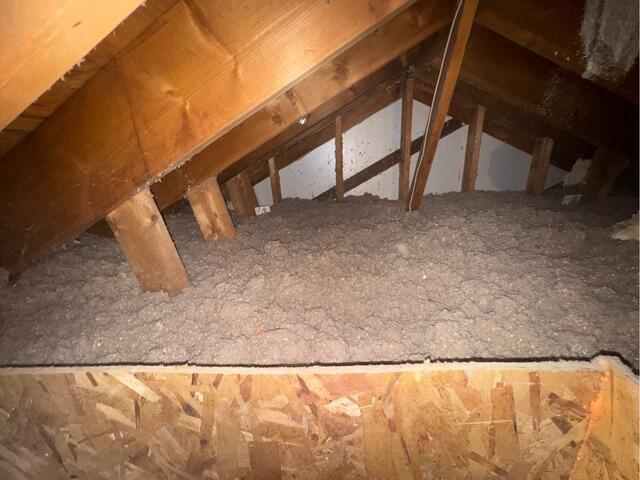
This homeowner in Salem, CT called us out to their home for a Home Energy Evaluation. During our Attic walkthrough portion of the visit we noticed they had old, nasty fiberglass insulation and mold in their attic! Mold in your attic is not normal, and it is for sure not healthy. It means there is another problem in your home that is causing relative humidity in your home to go above 75% so mold can grow on wood and insulation. We can treat the home and prevent more mold from growing, but can we eliminate the mold that is already there? YES we can!
We use our Mold-X Neutralizer which kills all mold spores and stops the future growth. We spray this in the attic and make sure it reached all nooks and crannies where mold may grow. the mold is still visible, but it is dead. Next we use out Mold-X botanical to clean the mold stains off of any surface.
In the photo you can see the black mold, and old insulation, in the after photo you can see old insulation is removed, and we have started out air sealing and insulation process as well.
Now, thanks to Dr. Energy Saver by Eco Energy Solutions this home is now safe environment!
Insulated Basement with Foamax Boards in Lebanon, CT


Our team Insulated this basement with Foamax "polyiso" insulation boards
our service area
We serve the following areas
- Adams
- Ashley Falls
- Becket
- Berkshire
- Blandford
- Cheshire
- Chester
- Cummington
- Dalton
- Drury
- East Otis
- Glendale
- Granville
- Great Barrington
- Hinsdale
- Housatonic
- Lanesborough
- Lee
- Lenox
- Lenox Dale
- Middlefield
- Mill River
- Monroe Bridge
- Monterey
- North Adams
- North Egremont
- Otis
- Pittsfield
- Plainfield
- Richmond
- Rowe
- Sandisfield
- Savoy
- Sheffield
- South Egremont
- South Lee
- Southfield
- Stockbridge
- Tyringham
- West Stockbridge
- Williamstown
- Windsor
- Worthington
- Barkhamsted
- Burlington
- Colebrook
- North Canton
- Riverton
- West Hartland
- Winsted