Making a Home Warmer in Windsor, CT
Challenge
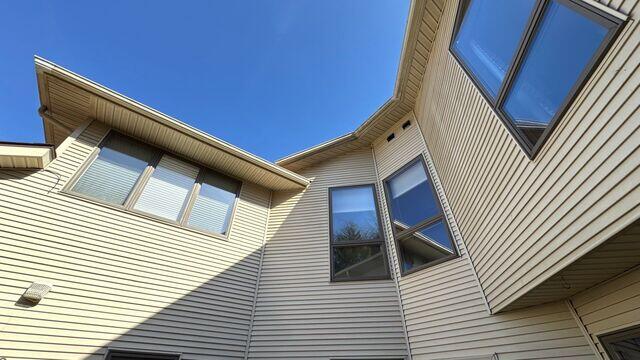
This homeowner in Windsor, CT called us hoping that we would be able to help him with his home. It was mid-winter, and it was very cold in his house. He especially was having problems heating his den, as well as some rooms over and next to his garage. Due to these issues, he feared that his home was not energy efficient. This home had high, vaulted ceilings, and the homeowner did not believe he had any attic at all. However, he said that he was concerned about air sealing if there was an attic, due to the drafts he was experiencing. He also was experiencing drafts through a large bay window. He additionally stated he would like his crawl space and basement insulated, as they were quite cold. He was also experiencing some musty odors and moisture in the crawl space.
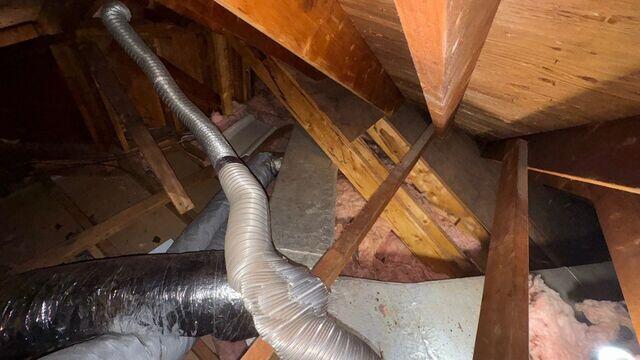
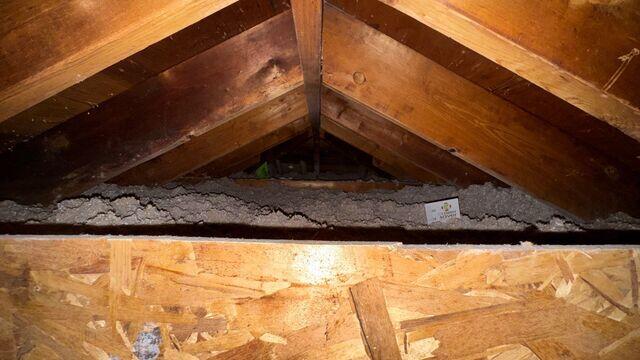
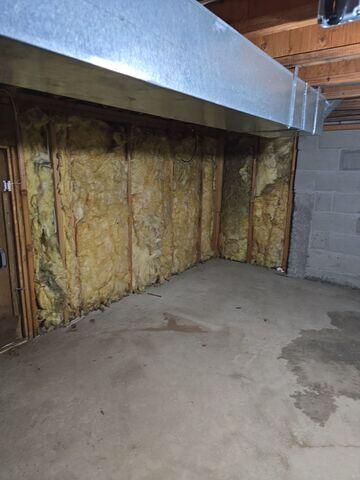
When our Home Comfort Specialist arrived, he noted that while some of the home had vaulted ceilings, there were also small attic spaces. These attic spaces were not accessible, as there was no scuttle. (The scuttle is the entrance hole to the attic.) Since the attic was sealed off, he was not able to tell for certain what the state of the insulation was. However, thermal imaging showed that the insulation was very inefficient and was leaking cold air into the home! When the Home Comfort Specialist went into the garage, he noted that there was very little insulation in the ceiling as well as the walls separating the garage from the rest of the home. This is what was causing the cold drafts coming in to those rooms. After inspecting the garage, our Home Comfort Specialist headed to the basement, where he noted a lack of insulation, and the crawl space, which had a lot of fiberglass insulation. However, the insulation was failing, as it was coming away from the crawl space walls and was very dirty in some areas. He also noted the fact that there were tell-tale signs of a rodent issue, as well as finding signs that racoons had entered the home.
Solution
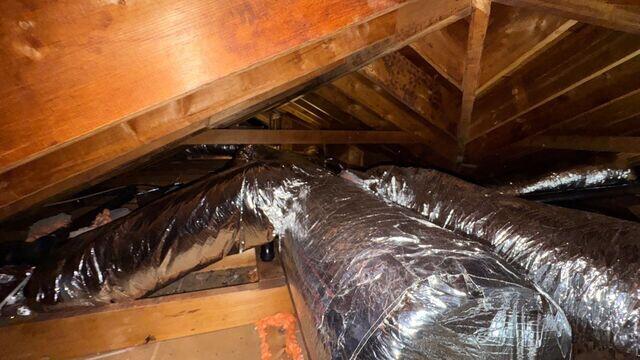
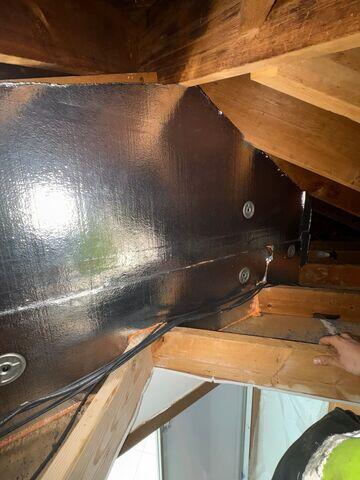
Fogarty's Home Services was able to help this customer with their home! We began in the attic. In order to gain access to the attic and find out what the insulation situation was, we had to cut a scuttle opening. When we entered the attic, we found that there was fiberglass insulation, but there was no air sealing. This explained the issues they were having with drafty and uncomfortable rooms. Once the hole was made, we were able to go in and remove the fiberglass insulation using large bags. This insulation was very dirty, proving that there was air leakage in the home. Once the attic was vacuumed clean, we began by air sealing all cracks and gaps in the attic floor with our Zypfoam™ expanding foam. We then went in to insulate a wall that was next to one of the rooms. We did this by utilizing our SilverGlo™ foam board. SilverGlo™ has graphite infused into the foam -- bumping up the R-Value by 24% over standard EPS foam. Once we were finished with the SilverGlo™, we went back to the attic floor. We were able to utilize our TiteShell™ can light covers to cover (and insulate around) can lights. TiteShell™ keeps the insulation safe from fire hazards like hot light bulbs. The TiteShell™ covers are installed and sealed with expanding spray foam.
When we were in the attic, we also noted that there was a bath fan that was ducting out into the attic. The homeowner wanted to re-duct the bath fan to prevent mold. We were able to re-duct the bath fan out through the gable end wall of the attic, ensuring that the moisture was vented to the outside. After that, we were able to insulate the attic with our TruSoft™ cellulose insulation. We used a large hose to blow the TruSoft™ insulation into the attic, covering the attic floor. TruSoft™ fills all gaps, and covers framing members, preventing thermal bridging. We then added a scuttle cover insulated with our SilverGlo™ foam board. The scuttle cover was additionally weather stripped, preventing air leakage.
We then began to work on the cathedral ceiling. We first went in to air-seal the can lights in the cathedral ceiling. We do this by removing the bulbs and trim rings, then sealing with high temperature caulk to prevent air leakage. We also sealed the gap between the drywall and the can lights. We then replaced the trim, and installed the bulbs again. After that, we went in and began to dense pack the cathedral ceiling. We were able to do this through the attic itself. We inserted a long hose into the space for the cathedral ceiling. Insulation was blown through the hose, "dense packing" the ceiling. This stops air leakage and compresses any existing insulation.
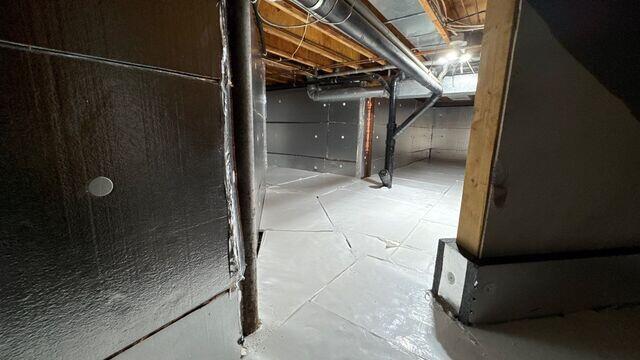
Once we were finished with the attic and cathedral ceiling, we had to go to the basement. The basement had no insulation to remove, so we got right to adding our two-part expanding spray foam. We insulated the rim joist (the perimeter of the floor framing system along the exterior of the house), going down over the sill plate. This seals all of the gaps, preventing outside air from getting into the home.
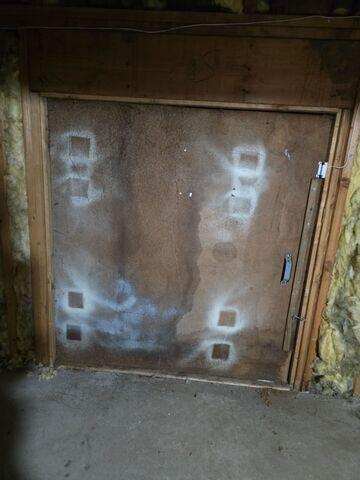
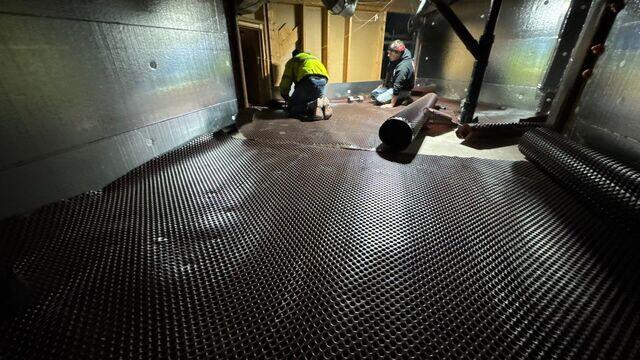
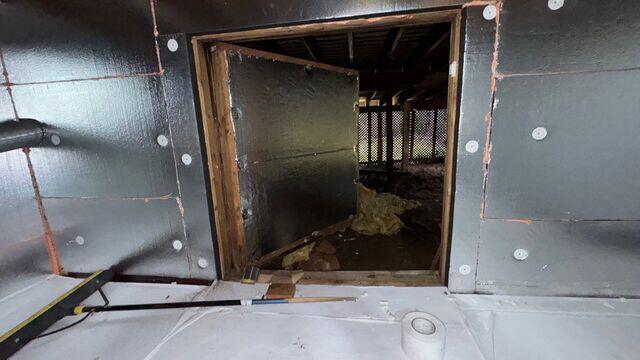
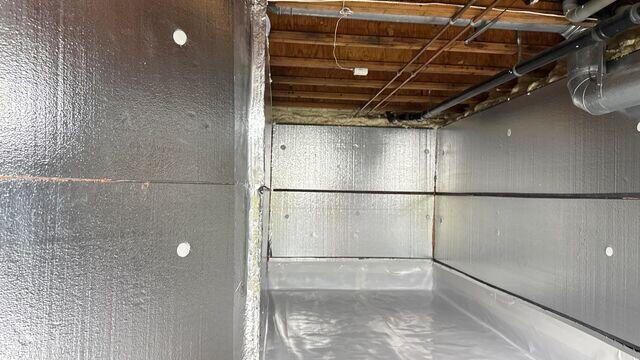
We were then able to move on to the crawl space. This crawl space was particularly large, and was connected to the basement. We began with removing all of the insulation and debris in the crawl space. We then went in to encapsulate the crawl space. We do this with our SilverGlo™ insulation board. We installed it on the crawl space walls. Additionally, we installed some SilverGlo™ on a crawl space door that was toward the back. This door opened to the space under a three season room. After that, we laid down our dimpled drainage mat to create a thermal break. We then installed our TerraBlock™ floor insulation, and fastened our CleanSpace™ crawl space encapsulation liner on top of it. We insulated the rim joist as well, and now, the crawl space was done!
We then moved to the space underneath the three-season room. We had previously removed the fiberglass insulation while we were removing it from the crawl space, so we were able to go in immediately and insulate the area with our SilverGlo™ foam board. The SilverGlo™ was installed on the bottom of the floor joists and sealed using ZypFoam™ spray foam.
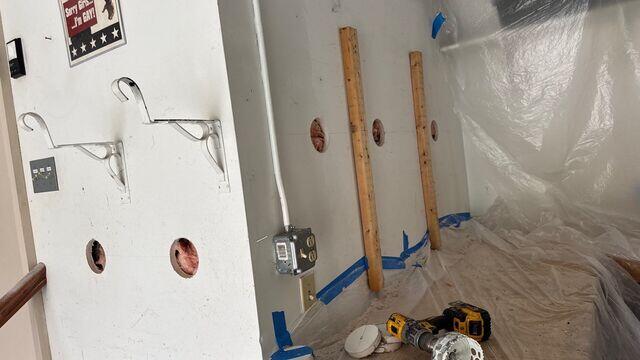
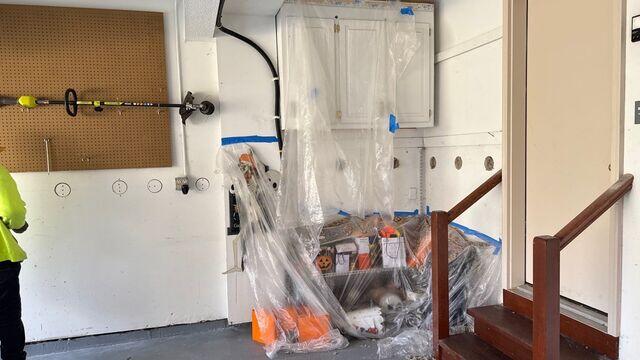
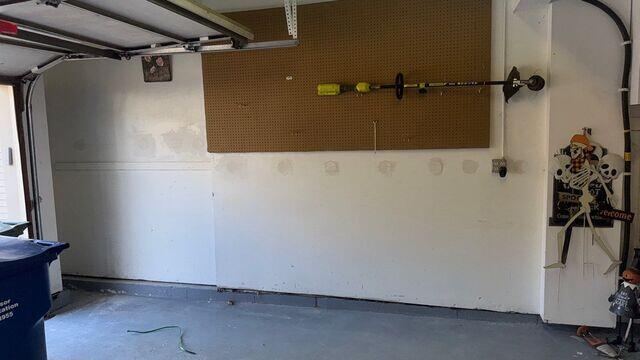
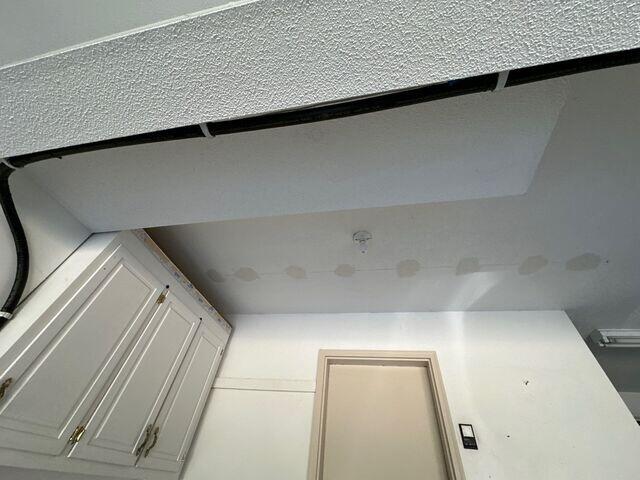
Our final area of the home was the garage. We began with dense packing the walls with our TruSoft™ cellulose insulation. We drilled 2.56 inch holes into the drywall inside the garage. The fill tube was then inserted both up and down into the wall cavities. This dense packed the wall cavities, ensuring that the insulation was packed tightly to prevent air leaks. To finish out the insulation in the home, we drilled holes in the drywall of the garage ceiling. We dense packed into the ceiling cavities with our TruSoft™ cellulose, using the same techniques as the cathedral ceiling and garage walls. We then replaced the drywall plugs in both the garage ceiling and walls and sealed them with drywall compound in a neutral color, meaning the homeowner will be able to go in and repaint them to match the rest of their home.
Now, this homeowner is much more comfortable in the home! The home is easier to keep temperature controlled -- meaning that they are not losing the heat or air conditioning they paid for. Additionally, he no longer has issues with musty odors and humidity in the crawl space. His home is much more energy efficient and he is looking forward to lower energy bills in the future and a much warmer home next winter!